- Games & Stuff
- Posts
- An Ultimate (But Not Definitive) Guide to Maximizing Comfort When Camping
An Ultimate (But Not Definitive) Guide to Maximizing Comfort When Camping
Alykkat
November 16, 2023
Jump To ➡️
First things first – to me, "Glamping" is when you pay to camp at a prebuilt campsite or one that is set up for you. Yes, I know – I'm splitting hairs, but I'm very proud of the camping experience I've curated.
Secondly, if you're looking for another backpacking, minimalist camping guide, this is not it. I'm a comfort maximalist and proud of it.
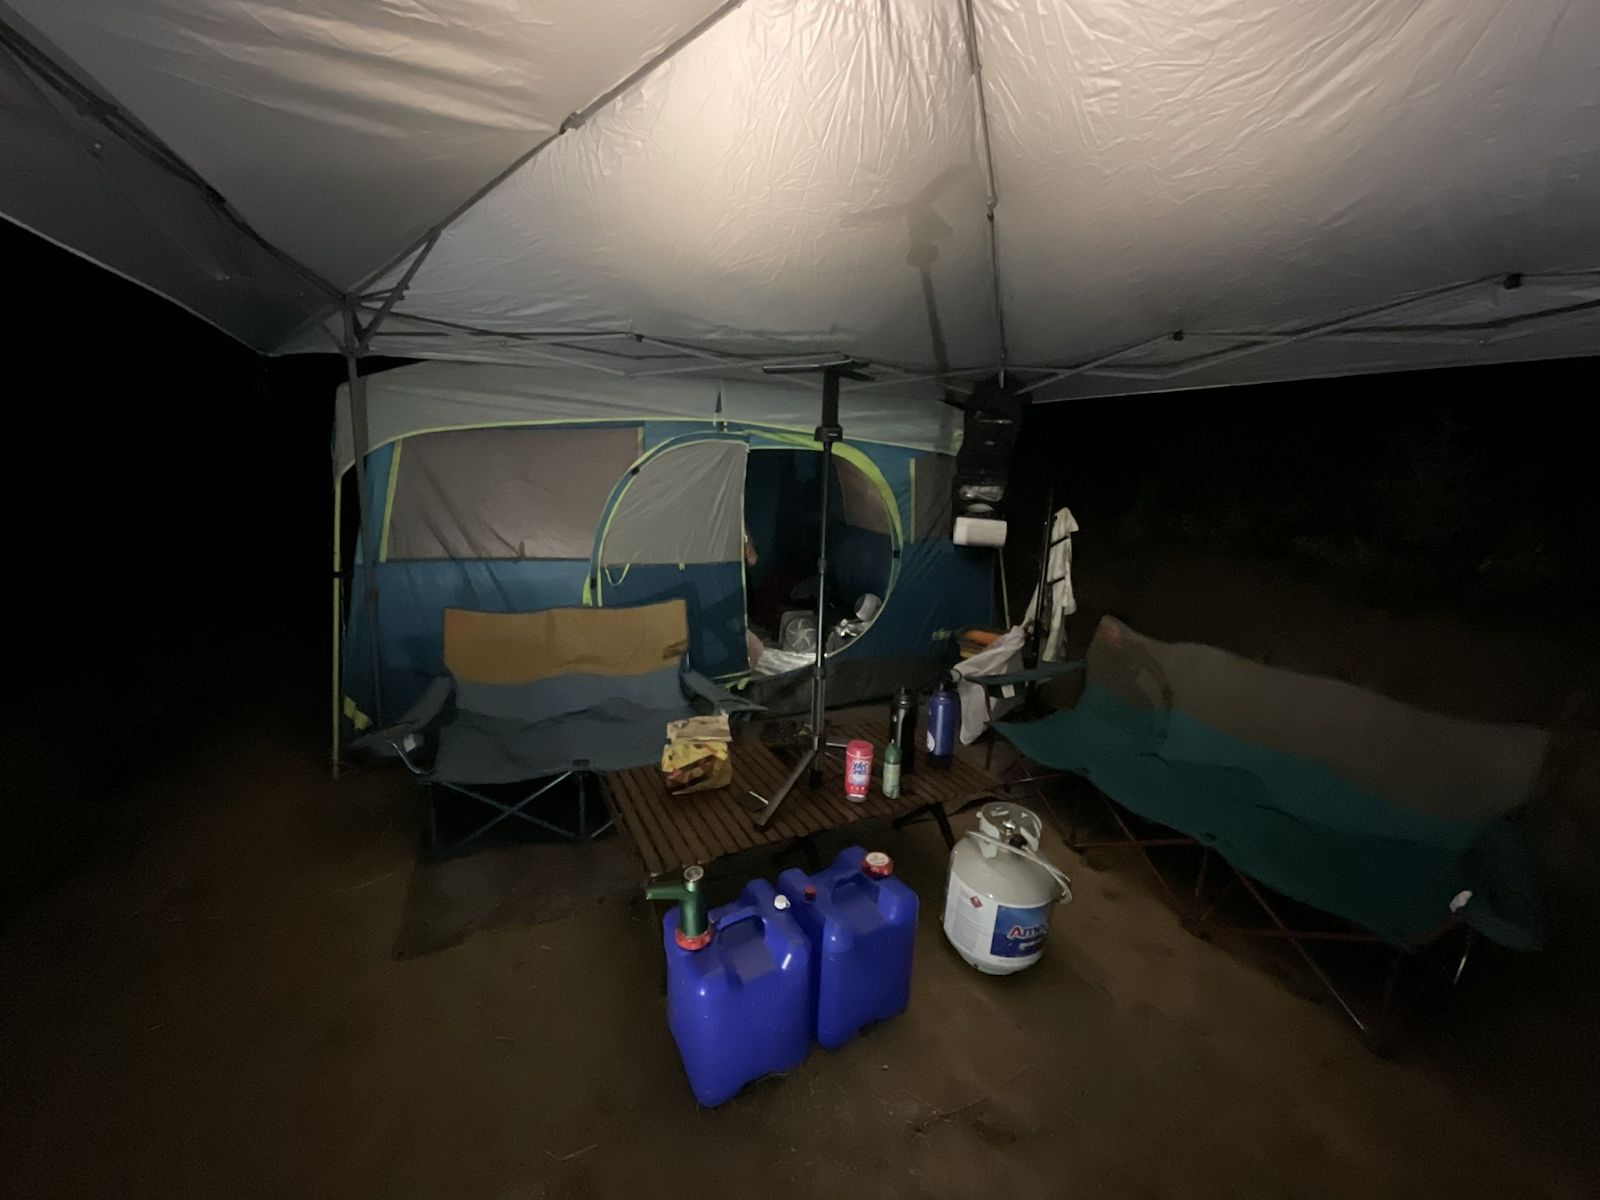
To help you contextualize the massive information dump you are about to receive, here is a pretty standard layout of our campsite and a timelapse of use setting it up.
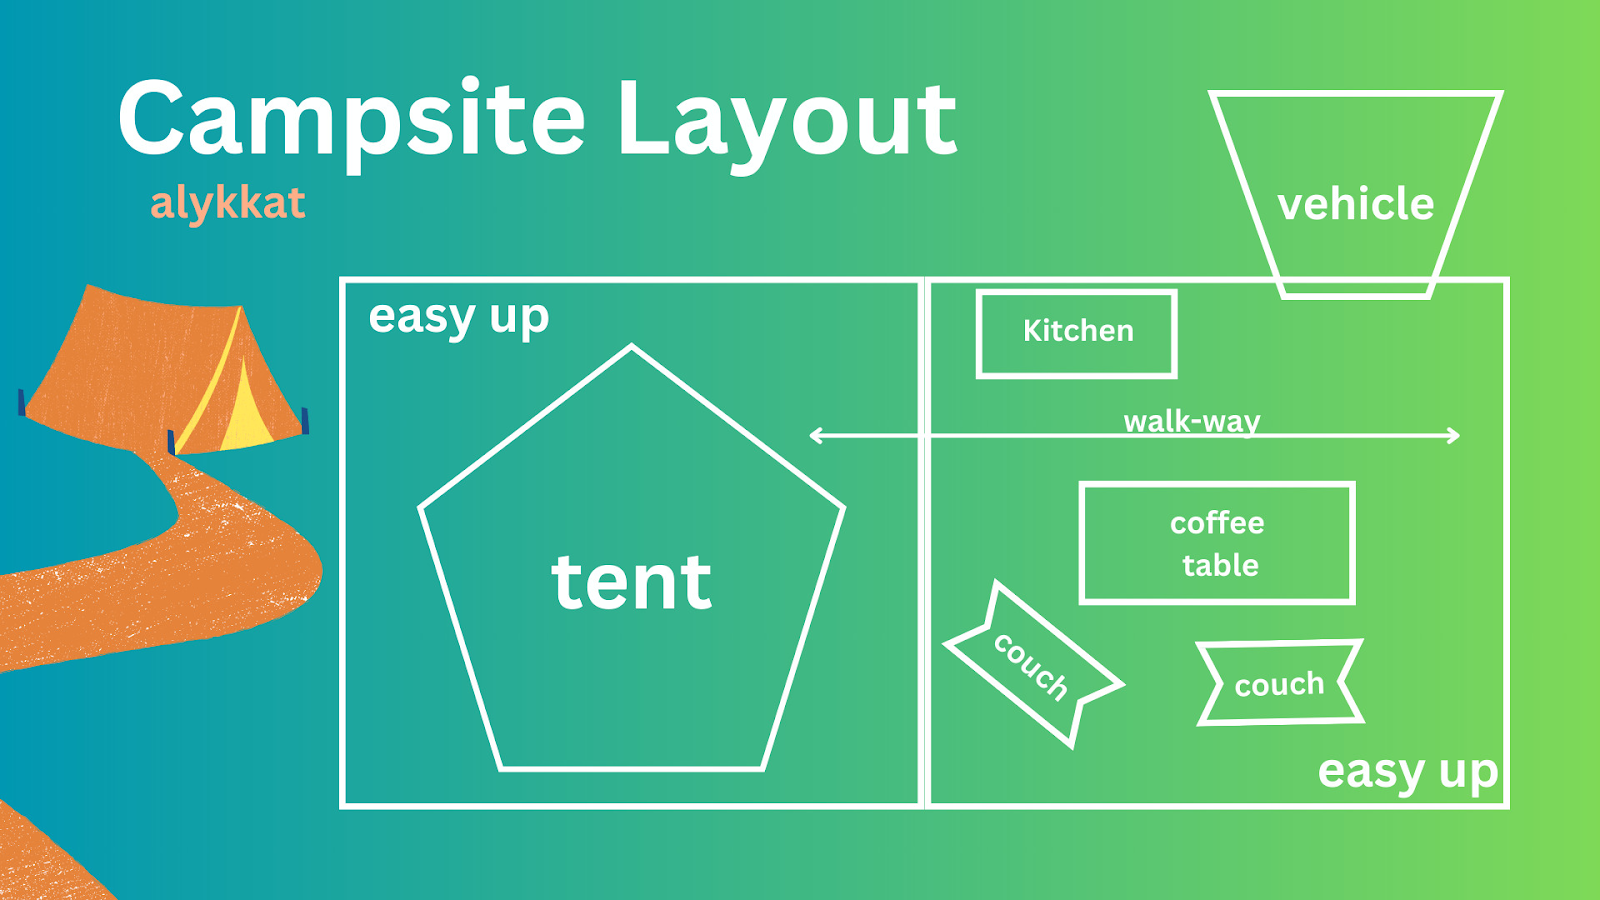
Our base camp structures include your tent, shade structures, and your vehicle.
TENT
The tent we use the most is a Coleman 8-person camping tent in the style of a "cabin" with a built-in closet (link), and we have considered upgrading to the newer version (link), but haven't yet. Note, this tent is not ideal for Burning Man – for the Burn, we use two instant weatherproof Coleman tents (link) with rainflies (link). The smaller tent is also the tent I'd use if I were camping alone.
SHADE STRUCTURES
We have one 10x10 Coleman instant Canopy (link) with two sun walls (link) and one 13x13 Coleman Pop-Up Canopy (link).
OTHER INFRASTRUCTURE
The stakes provided with your tent and easy-ups are very flimsy. I highly recommend getting 10-inch nails (link) with washers (link) for staking everything down. We got ours at Home Depot, along with a mallet (link) to hammer them into the ground.
TOOLS
You can never have enough tarps. You want at least two heavy-duty 10x10 tarps (outside) and one 10x10 medium-duty tarp (inside the tent). We keep a plastic bin with quite a few tarps and always keep extras on hand. In addition to the mallet, you'll want to keep the following tools on hand:
LIVING ROOM
Our living room boasts a two-seater (link) and three-seater (link) quick collapsible Kelty camping couches and an easy-to-pack-up coffee table. I cannot express how much this coffee table (link) improved our camping experience. When camping, you are always, and I mean always, looking for a usable surface.
We have an array of lighting from string lights, cable lights, personal carry lights, and this rechargeable work light (link) – this work light is a crowd favorite since you can point the panels up at the easy-up, illuminating the whole camping setup.
KITCHEN
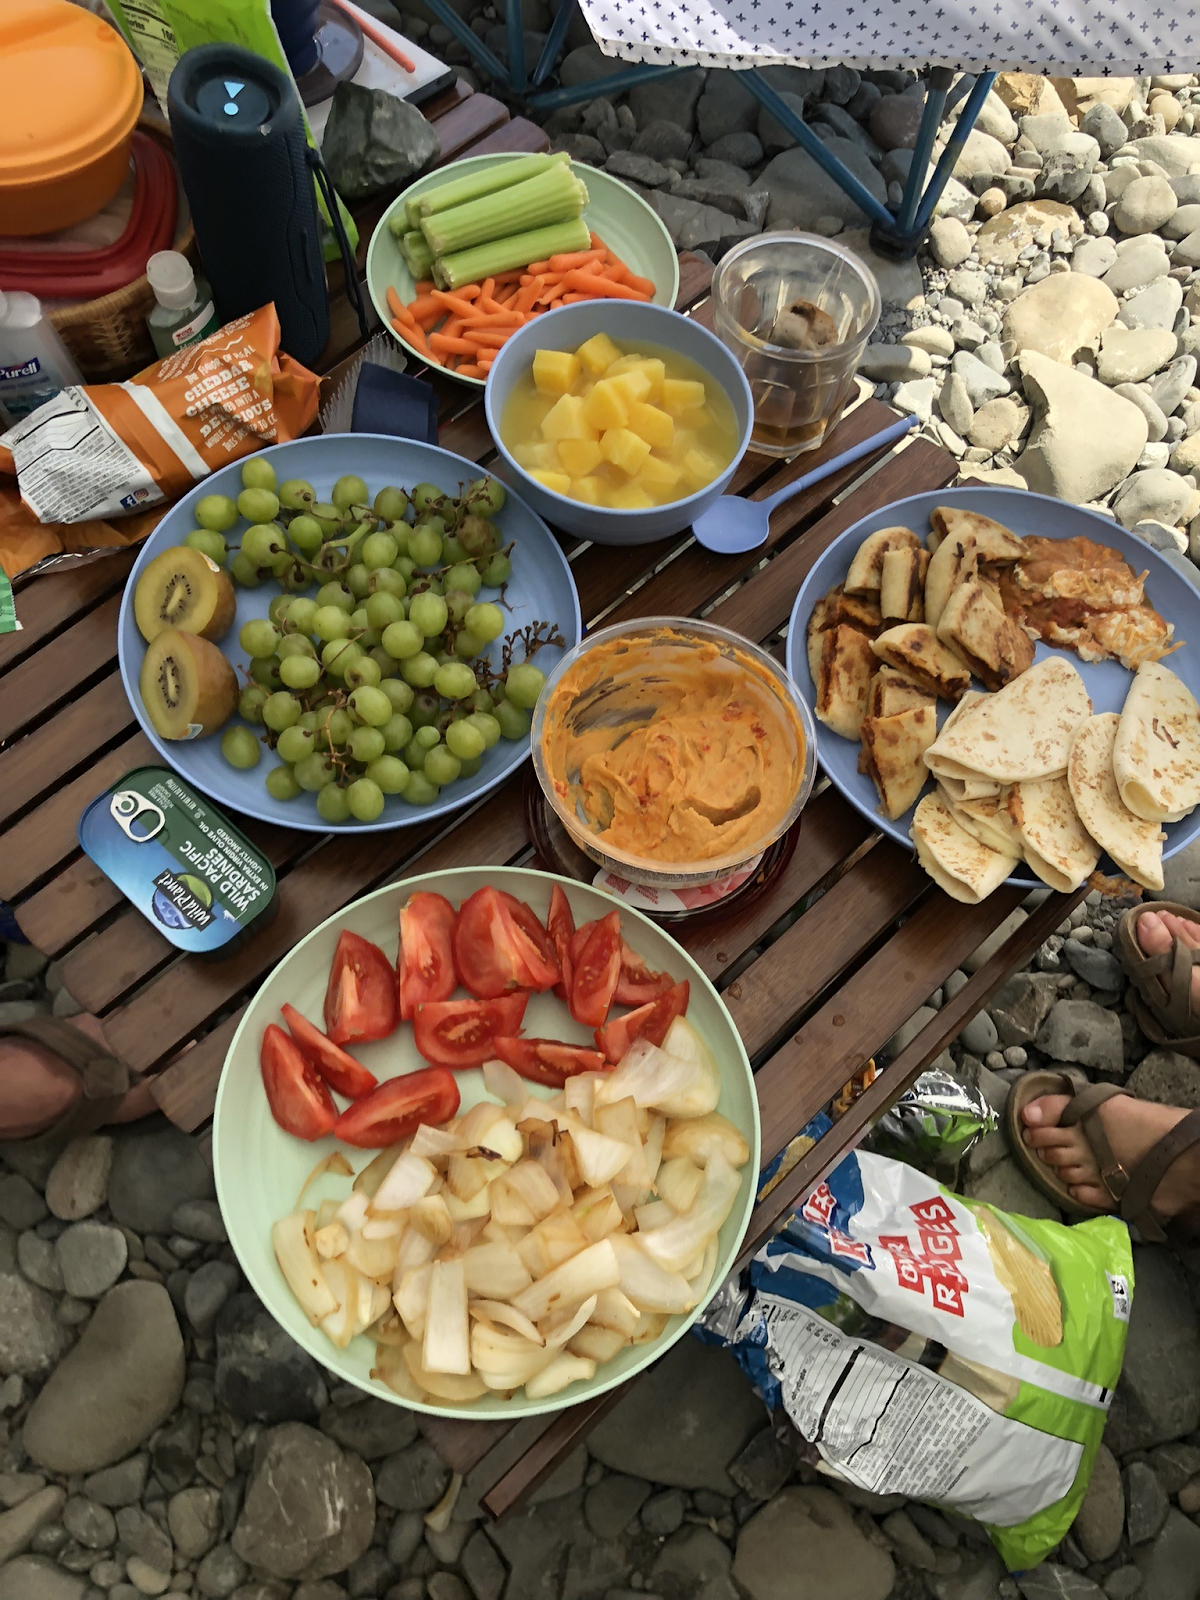
My favorite time of day when camping is early morning before the rest of the group is up – I start by making myself a fresh cup of coffee and preparing to make breakfast. Our kitchen setup is what our friends look forward to most when we organize camping trips.
There are so many options for a portable refrigerator, and we started with an entry-level one from Setpower (link) but have since upgraded to an ECOFLOW GLACIER (link) and an ECOFLOW portable power station (link). For extended camping trips, I recommend getting solar panels (link) to charge it up during the day if you're going to keep a fridge running – especially in hot heat. Thankfully, electricity management is handled by my partner; this is an area that he is very precise about.
There isn't much need to write a verbose story to go along with the rest of our cooking gear, so without much fuss –
Coleman 2-burner propane stove top (link)
Braided hose adapter for a regular-size propane tank (link)
Propane tank – found at your local hardware stores
Cookware storage (link) – we changed from a plastic bin to this hanging bag that fits everything but cups and bowls.
A small plastic storage bin houses cups, bowls, and our single-cup drip coffee maker (link)
Biodegradable dish soap (link)
Collapsible buckets (link)
Kitchen table/counter (link)
Water storage (link)
Electric water spout (link) – it doesn't fit directly; we haven't found a reasonably priced one that fits, but you can DIY it with the provided water spout from the water containers -- we use tape.
Utensil sets (link) – It, unfortunately, comes with the travel boxes for each set. I put all of the sets in the cookware storage zip pouch and used these for various other projects.
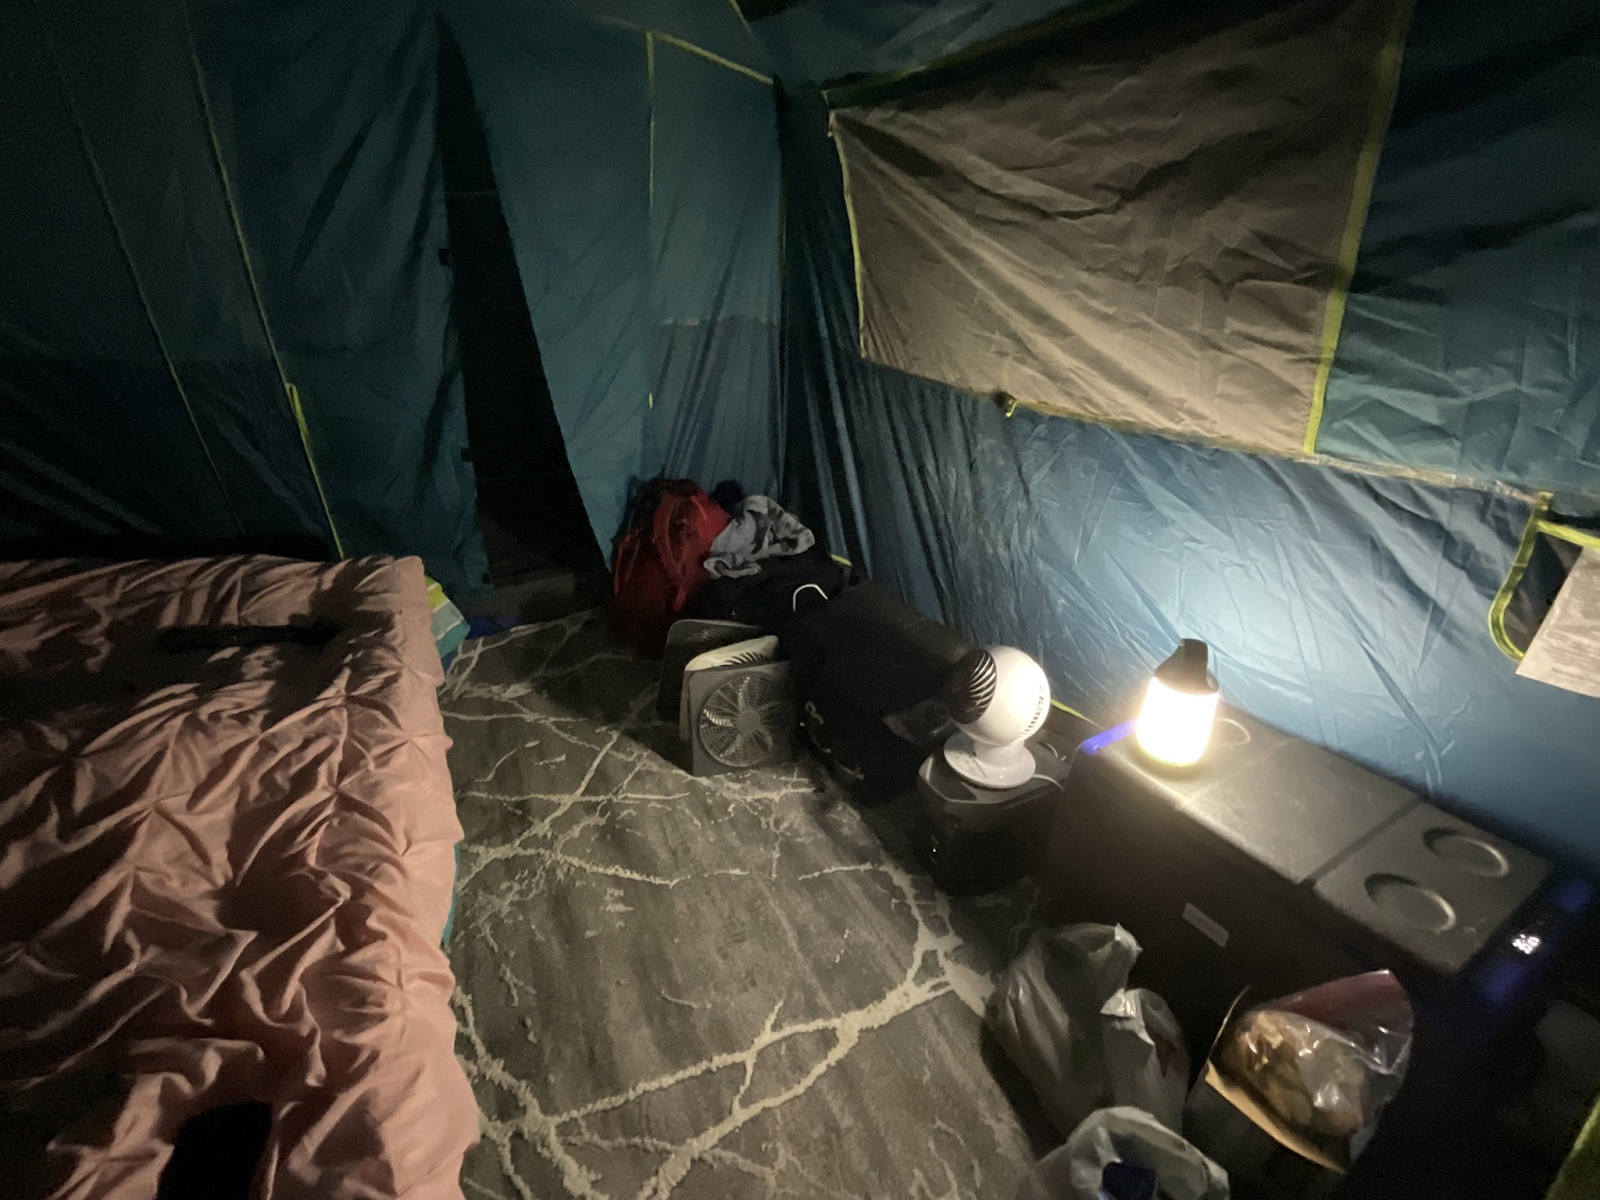
INSIDE THE TENT
On top of the tarp, we put an 8x10 living room rug as the next layer. This incredible layer completely changes the experience inside the tent, making it incredibly homey and comfortable even on rocky terrain.
Since the two-person cots have an annoying metal bar down the center, we push two Coleman cots (link) next to each other. For bedding, the first layer is two two-inch foam cushions, a queen-sized flat sheet, and our desired number of blankets and pillows.
We store most of our tools, camping lights (headlamps, flashlights, etc.), sunscreen, bug spray, wet wipes, & other miscellaneous items we need quick access to in an organizer box (link).
And one of the more silly comfort improvements that has been great for hanging coats, hats, headlamps, and keeping things off the floor – a coat rack (link).
NEXT-LEVEL COMFORT
Electric shower head (link) – our friends laughed hard when I pulled this out of my box of tricks, but they certainly enjoyed using it. Pro-tip, save water and use the smaller attachment.
For winter, get a Buddy Heater (link) – they are safe to use inside the tent and have a tip-over safety feature.
FANS
House shoes – this should be self-explanatory, but being able to slip them on and move around the camp is just chef's kiss.
If I were a solo camper, I'd still have a lot of the same gear, but with a smaller tent. I'd make do with one shade structure and one couch, along with the coffee table. Don’t forget your standard items like extra batteries, trash bags, tent dust brush & broom, etc.
UPGRADES


Reply